Monday, April 8, 2013

NEW WEB SITE UP


Please take time and check out my new site.
Thanks,


Saturday, July 24, 2010

Finished

Hope #1

Just wanted to post some photos of the finished guitar. I will try to post more on finishing the guitar later. But I am building 2 more and I am spending most of my free time, which isnt much with a 5 year old and a full time job, working on them. But here it is..........
The picture are a larger size so it might take a few mins to load depending on th espeed of you computer.


...........


Friday, May 7, 2010

Scraping the radius on the binding

I basically just used the scrapers to form the radius. i will go over it with 320 grit sand paper to finish it off.

Wet sanding the head stock and applying the decal

I am using wet sand paper from 800 grit to 1200 grit. I am using extra fine cloth sanding material for final sanding. The suface has to be as smooth as possible for the decal to look right after applying and clear coating.


This is after the finest polishing cloth.
Soak the decal for 20 secs.
Then apply and use your finger to force out any bubbles.
Now all that left is applying several coats of clear lacquer wet sand again and buff out. The edges of the decal will disappear after the lacquer coats. The way I do the head stock is I apply 4-5 coats of full strength lacquer, after it dries I will use 600 grit wet sand paper on a small piece of steel and send only where the decal is. When I think I am getting close to the decal I stop and then apply 4-5 more coats and repeat the wet sand process to the decal. Eventually the edges of the decal will disappear when the lacquer on the head stock reaches the thickness of the lacquer on the decal.


Painting the head stock

Here is what I will be using. A paint-able mask for the inlay and ColorTone gloss black lacquer.
Here I am applying the liquid mask. 
After spaying 4 coats.

Friday, April 2, 2010

Giving the mahogany a tint of red.


Here is after shooting 3 coats of the Red Mahogany translucent dye mixed with 75% lacquer 25% lacquer reducer. I mixed 3 drops of the dye to 8 ounces of the lacquer mix.
I am now removing the masking.
Now I have to radius the outside corner of the binding and finish with 8+ coats of clear lacquer wet sand and buff it out to a mirror finish.

After looking at this picture I should have wiped the sunburst down before taking the picture. very dusty.

Filling the mahogany

Here I have finish sanded to 320 grit. Masked it off and wiped it down with denatured Alcohol.
I am using Lawrence-McFadden mahogany wood filler.
I thin it out with Mineral spirits. This stuff is almost like clay. I personally don't see how you can use this with out thinning it. I thin it to a consistency of creamy peanut butter. 

I apply it quickly as this stuff dries very fast. I use a plastic scraper and go across the grain to remove the excess. I then wipe across the grain with a rag to remove the rest.

Saturday, March 13, 2010

Burst take 3


I said in the previous post I am using a Preval sprayer. You can get these at any good wood working store. I got mine at Woodcraft for about $5 each. Just thought you might want to see what these look like if you have never heard of them.


Here we are are after the body SEALED, stained and the first coat of the Reddish Brown as been applied.

 After the second coat.


This is after a 50/50 mix of Lacquer and Lacquer reducer was applied.

Monday, March 8, 2010

Learning how to spray a sunburst

 
First I sealed the wood with 2 wash coats of a 50/50 mix of vinyl sealer and lacquer thinner. I am using a  Preval sprayer to do the spraying of the top.
   
Then I wiped on a honey amber stain I made using honey amber translucent dyes. I mixed 2 teaspoons of dye with 50% denatured alcohol 8 oz.. and 50% lacquer thinner 8 oz.. The picture is after I sealed it with a full strength coat of vinyl sealer.


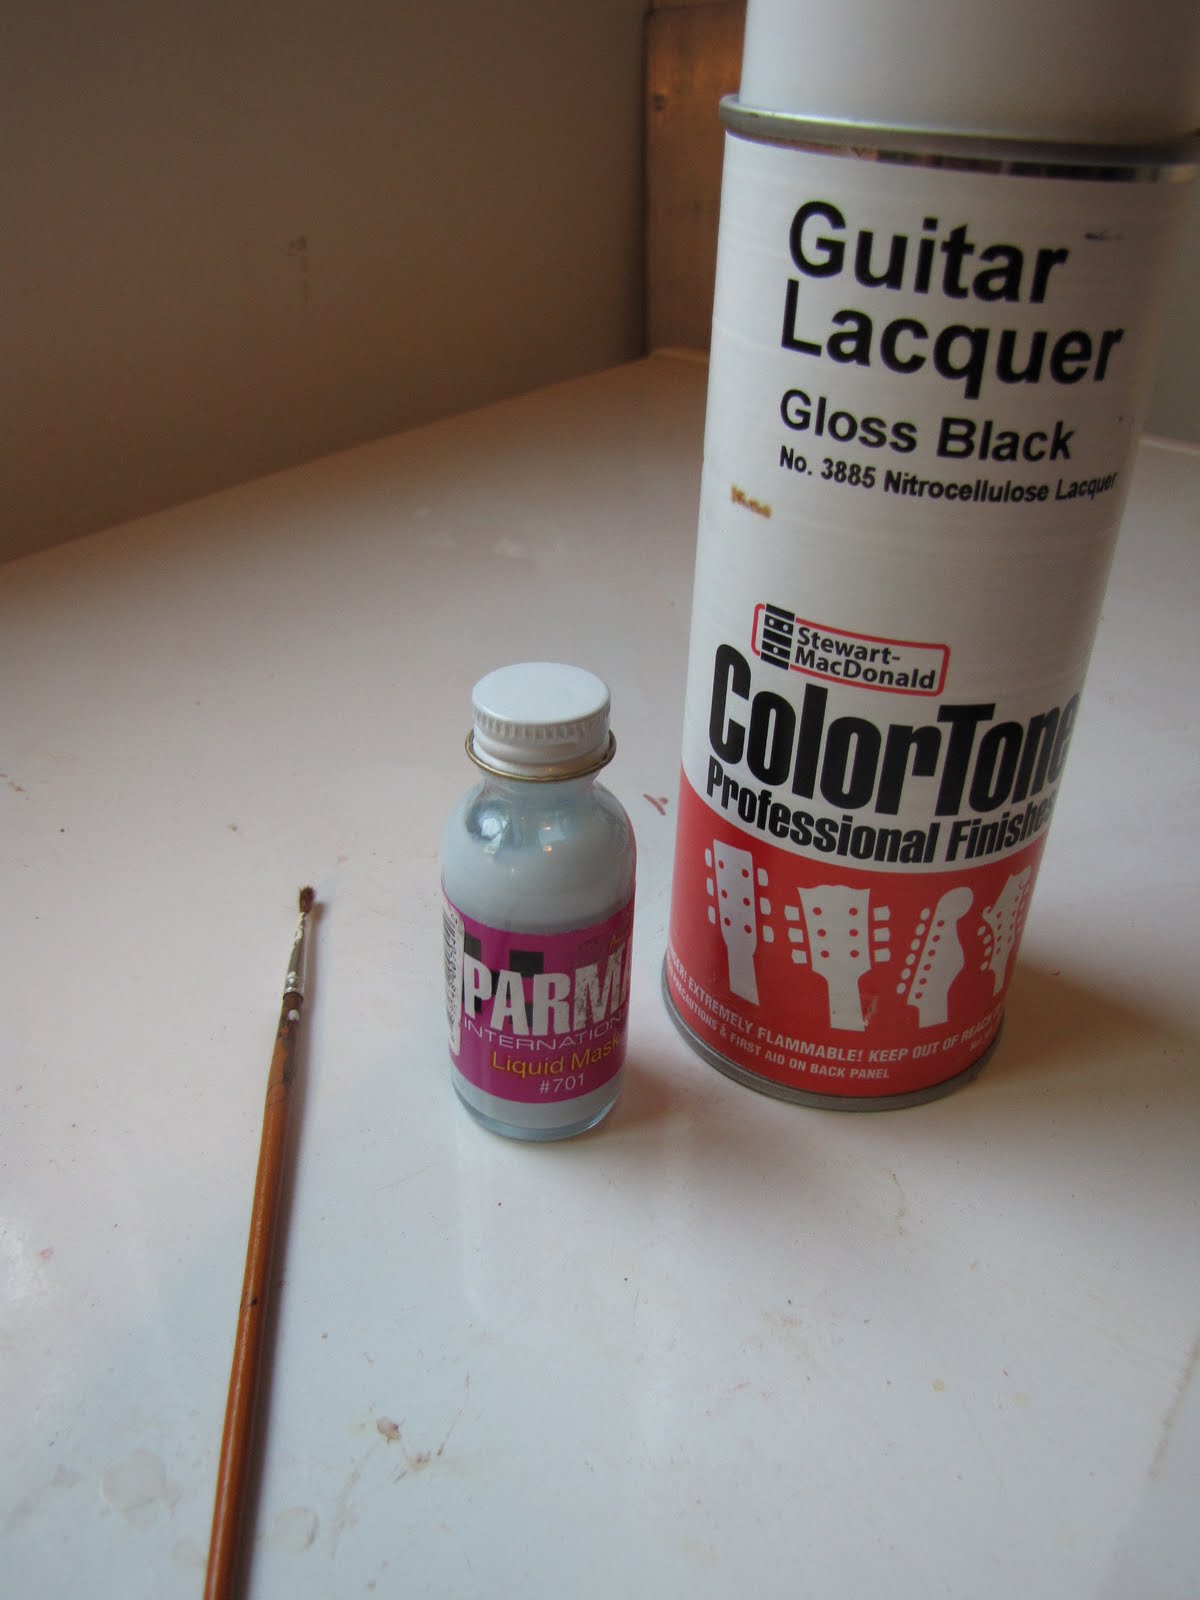
This is after spraying the the first coat of a reddish-brown lacquer mix. I used 50% lacquer mixed with 50% stain I made which is 2 teaspoons dye to 50% denatured Alcohol 8 oz. and 50% lacquer thinner 8 oz..
This is after I scraped the binding. There were a couple of darker spots that I had to sand to thin out the coat to make it look right.  But after the next coat of this is applied it should look fine. I think the dark spots were cause by me spraying the thinned out Lacquer/stain mix while the guitar was hanging. The dark spot I think are where the stain mix ran and settled right where the curve of the arch top starts. I will do the rest of the spraying of the top with it lying horizontal.


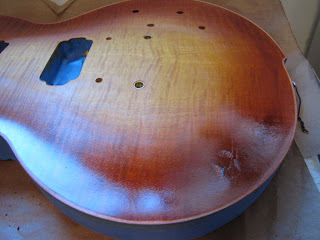
This kind of thing will make you cry. The strap on the camera hit the finish..ouch. The next step is to sand the top back to bare wood and try again.
It only took about 20 minute to sand this back to wood because I sealed the top before staining and spraying.


Here we are during the second attempt after the reddish-brown is sprayed. Much better looking this time working with the guitar horizontal.  I didn't realize this until later but I forgot to seal the wood this time before I started. This will come back to bite me.


Another angle


After the brown was sprayed. Which was a mixture of 3 teaspoons brown dye to 50% denatured Alcohol 8 oz. and 50% lacquer thinner 8 oz. mixed 50/50 with lacquer. I notice some brown dots in the amber. I tried to sand them out with out going through  the amber but as you can see I got some sand though. The dot were caused by me spraying from the inside of the body out. I have learned that I need to only spray from the outside in to prevent this. So guess what I get to sand this back to wood again. 

Saturday, February 27, 2010

Making the Nut


In order to make the nut I need to put on the bridge, tail piece and tuning keys.
I first soldered a ground wire on one of the anchors for the tail and then applied a little tight bond and hammered it in the hole closest to the controls. I then glued in the other anchor for the tail piece. I then hammered in the anchors for the bridge with out glue as I will remove these after the making of the nut for final sanding and the finish.


Marking the rough out line of the nut. I will take this and remove most the stock on my belt sander and then use files to refine the shape.


Installing the tuning keys.
 
This is the rough version. I first used a Stew/Mac string spacing rule to mark the nut. Then a .010 saw to start the slots. I then used various sizes depending on with string slot I was working to finish the grooves.
 
Made by placing the nut in position and stringing. Using an action gauge I cut the nut slots using different size nut files until the string has a clearance of .025 of an inch over the first fret.
 
These are the different files I used along with the string set up gauge from Stew/Mac and just a feeler gauge.


With the nut complete and action set. I have .060 of and inch at the 22nd fret for the high -E- and .070 of and inch for the Low -E-.